
BIND DNS Server on a Local Network: Part 3
Getting the web server ready for BIND
disclaimer
posted: 2020-07-17 | updated: 2020-08-15
![]() page 4 of 4
page 4 of 4 ![]()

Step 6:Test websites on the local network
-
Test websites on the development server
Start Apache. From the browser on the web server, see if you can display each of the test websites using their virtual host names: cache.cow, highland.cow, and moo.cow. If they grace your monitor in living color, pat yourself on the back and make yourself a cup of tea. Problems? Make yourself a cup of tea anyway, and start troubleshooting.


-
Test websites from non-mobile devices
After viewing test sites from the development server, see if you can view them from the other non-mobile devices on your local network.
-
Disable the DNS cache resolver on the development server
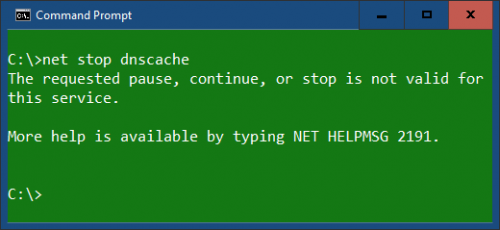
When configuring virtual hosts I like to rule out any potential glitches and gotchas with the operating system’s DNS resolver cache by shutting down the service. Unfortunately, at some point in the evolution of Windows 10, it is no longer possible to stop, start, or change the Startup type of the DNS Client service—it’s factory set (in stone) to Automatic. All options are “greyed out” which I guess is to match the colour of said stone. I tried running net stop dnscache from the command prompt and was greeted with this message:
The requested pause, continue, or stop is not valid for this service.
As far as I can tell, there are two solutions to this botheration: edit the registry, or succumb to endlessly flushing the DNS cache.
-
Flushing the DNS resolver cache with ipconfig
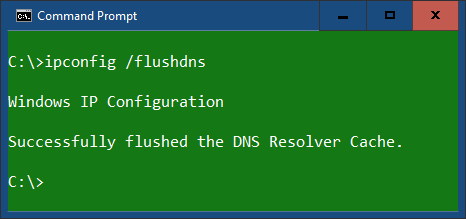
If editing the registry is not your thing, flush the DNS cache before testing locally hosted websites. Flush now, flush often.
At the command prompt, type:
C:\>ipconfig /flushdnsPress Enter.
-
Disable the DNS Client in the registry
A note of caution: edit the registry at your peril; backup the registry before proceeding.
- Backup the registry
- Open the Registry Editor
- Navigate to: HKEY_LOCAL_MACHINE\SYSTEM\CurrentControlSet\Services\Dnscache
- In the right panel, right click the Start registry key, then click Modify
- Record the Value—the default is 2 (Automatic)
- Change the value to 4 (Disabled), click OK, close the Registry Editor and restart Windows
- Change the DNS Start value back to 2 (Automatic) when not testing websites
Resources:
-


![]() page 4 of 4
page 4 of 4 ![]()
No comments yet…